
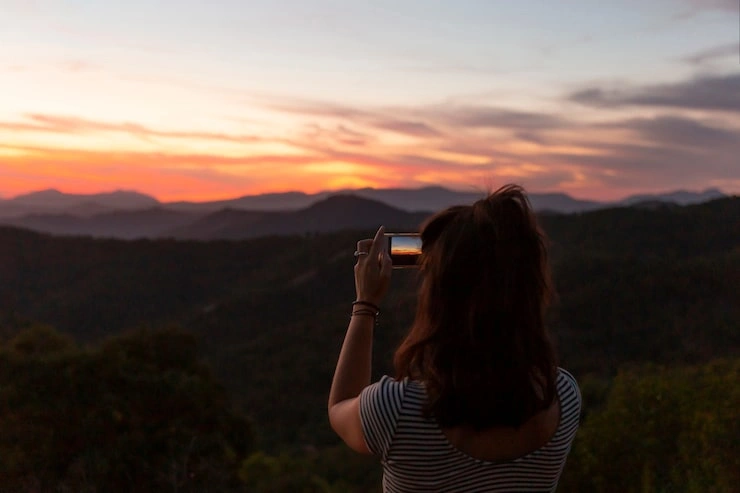
When you travel, you see many good things. But sunset is different. The sky changes every minute. The light becomes soft like a lamp. Trees and houses look golden. Every traveler wants to take this home in their phone. But most people fail. They click the sun. They get a white circle and dark ground. That photo goes to the gallery and never opens again.
I have made the same mistake many times. Then I learned a few small things. These things are not hard. You do not need a big camera. You do not need to read heavy books. You just need to follow the best travel photography tips for sunset shots.
Come Before the Sun Goes Down
Do not look at the clock and run at sunset time. That is a very common mistake. The real show starts forty minutes before. At that time, the sun is still high enough to give good light. The colors are not too strong. The shadows are long. Everything looks soft.
If you come exactly at sunset time, you will see the sun touching the horizon. That moment is good. But it lasts only two to three minutes. Then the sun is gone. You feel rushed. You click two photos. Then it is over.
So I always tell people to come one full hour early. Find a place to sit. Look around. See where the light is falling. You will feel calm. And your photos will look calm too.
Read Also: Best Camera Accessories for Travelers
Put Something in the Front
This is the tip that changes everything. Most people look at the sky. They point the phone up. They click. The photo has only sky and sun. That photo has no story. Your eyes do not know where to look first.
You need something in the front. A tree. A boat. A person. A rock. A bicycle. Anything. When you put something in the front, your photo gets depth. The person looking at your photo will first see the front thing. Then their eyes will move to the sky. This movement keeps them looking longer.
For example, you are on a beach. Do not just click the sun over water. Find a broken boat on the sand. Put that boat at the bottom of your photo. Click. Now the photo has two things. The old boat and the colorful sky. That is a good photo.
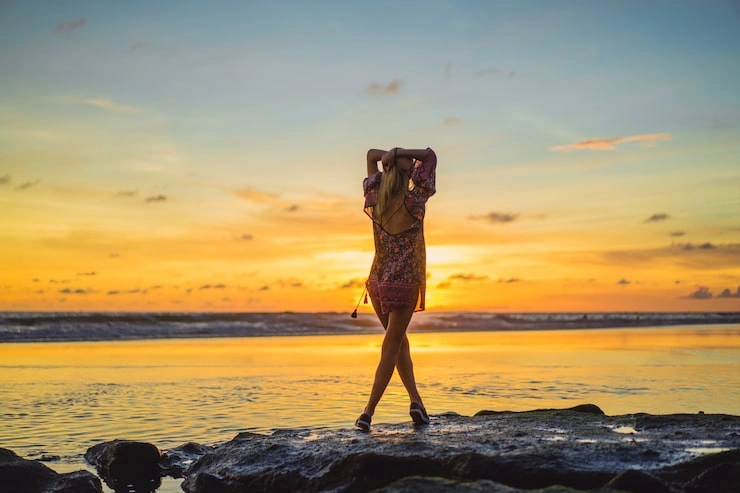
Another easy trick. Ask your friend to stand facing the sun. You stand behind them. Click. Their body will become black. The sky will be bright. That black shape against bright sky looks very strong. This is called a silhouette. Very simple. Very effective.
Keep Your Phone or Camera Still
When the sun goes down, light becomes less. Your phone needs more time to take one photo. If your hand moves even a little, the photo becomes blurry. You will not see this blur on the small screen. But when you open the photo on a laptop or TV, you will feel bad.
The best solution is a tripod. A tripod is a stand with three legs. You put your phone or camera on it. It holds the device completely still. You can buy a small tripod for phone for very low price. It is a good investment if you take many sunset photos.
If you do not have a tripod, do this. Find a wall. Find a flat rock. Find a railing. Place your phone there. Use the three second timer. Do not touch the phone when it is taking the photo. This one habit will make your photos sharp.
Make the Sky a Little Dark on Your Screen
This problem happens to everyone. You see deep orange sky. You click. Then you look at the photo. The sky has become white or very light yellow. The orange is gone. You feel cheated.
Why does this happen? Your phone tries to make the whole photo bright. The sun is very bright. So your phone reduces the brightness of the sky to balance everything. But then the sky loses its color.
The fix is very easy. On any phone, tap on the sky on your screen. You will see a small sun icon next to a box. Drag that sun icon down. The screen will become darker. Do not worry. Keep dragging until the sky looks a little dark. Then click. Now check the photo. The orange will be back. The red will be back. This small step makes a huge difference.
Use Raw Format If Your Phone or Camera Has It
This tip is for people who have a DSLR or a high end phone. Raw is a format. Normally your phone saves photos as JPEG. JPEG is good for sharing. But it throws away many color details. Raw saves everything. Later you can bring back the colors that were lost.
The problem is raw photos look flat and boring at first. Do not panic. That is how they should look. You need to edit them a little. Just increase the warmth and contrast. The colors will come out beautifully.
If you do not like editing, stick to JPEG. That is fine. But try raw once. You will see how much color was actually there in the sky. Your phone was hiding it. Raw uncovers it.
Do Not Put the Sun in the Middle Every Time
Many people put the sun right in the center of every photo. There is no rule against it. But doing it every time makes your photos boring.
Try this. Put the sun on the left side. Or on the right side. Or hide the sun behind a tree branch. Or keep the sun just above a building.
There is a simple method called the rule of thirds. Imagine two lines going up to down on your screen. Imagine two lines going left to right. You will get nine boxes. Now put the main things on these lines. For sunset, put the sun where two lines meet. Your photo will look more pleasing to the eye.
Also decide how much sky to show. If the clouds look amazing, show more sky. Keep ground only at the bottom. If the ground has a river or a field or a village, show more ground. Keep sky only at the top. Do not try to show fifty percent sky and fifty percent ground. That makes the photo weak.
Keep Shooting After the Sun Is Gone
Most people pack their bags the moment the sun disappears. That is a very big mistake. The best light often comes after the sun goes down.
For the next twenty to thirty minutes, the sky becomes deep blue. Clouds turn pink and purple. Street lights start turning on. The whole scene looks very calm. Keep shooting during this time. Your photos will have a different mood. Soft. Quiet. Beautiful.
Also turn around and look behind you. Sometimes the sunset behind you makes the sky in front of you pink. Many people miss this because they keep looking only at the sun. So turn your body. Look at all directions.
Remove Extra Things From Your Photo
Before you click, ask yourself one question. What is the main thing in this photo? Is it the sun? Is it the tree? Is it the person? If you cannot answer quickly, your photo has too many things.
Remove the extra things. Move left. Move right. Go closer. Change your angle. For example, there is a garbage bin near a good tree. Move to the side so the bin is not in the frame. Too many people are walking in front of you. Wait for them to pass. Or take the photo from a lower angle so they disappear behind the ground.
A simple photo with one or two things always looks better than a busy photo with many things. Remember the best travel photography tips for sunset shots.
You May Also Like: Best Editing Software for Travel Photos
Edit a Little. Do Not Fake.
Editing is not a bad word. Every good sunset photo you see online is edited a little. Your eyes see more light and color than any camera. So editing helps you bring the photo closer to what you actually saw.
You can increase the warmth a little. You can increase the contrast a little. You can reduce the highlights if the sky is too bright. You can increase the shadows if the ground is too dark.
But do not go too far. Do not make the sky bright purple. Do not make the sun look like a fire ball. Keep it natural. Use free apps like Snapseed or Lightroom mobile. Edit slowly. Stop when it looks like what you saw with your eyes.
Practice Before Your Trip
Do not wait for your Goa trip or your Manali trip to practice sunset photos. Go to a park near your house. Go to your terrace. Find an empty ground. See where the sun sets from that place.
Take photos for five days. Try different things. One day put a tree in the front. One day put a wall. One day take only the sky. One day take from a low angle. One day take from a high angle. See what you like.
This practice will teach you more than any article. When you go on your real trip, you will not waste time figuring out settings. You will just click and get good photos.
One Small Request About Safety
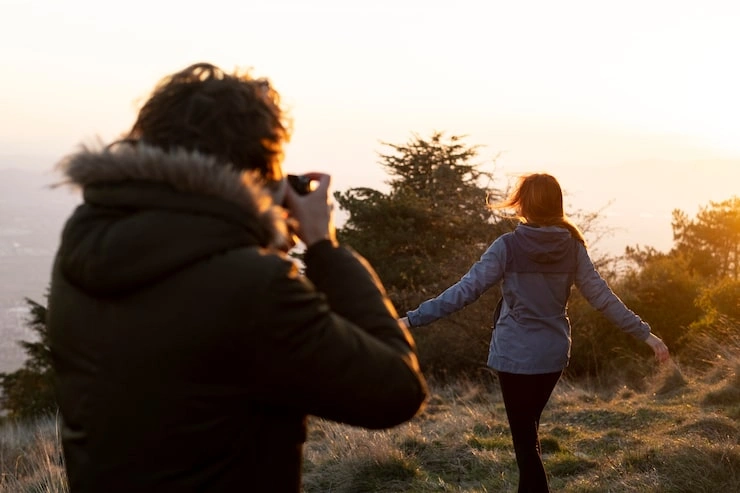
When you shoot sunset, you are outside in low light. Sometimes you are near water. Sometimes on a hill. Sometimes in a forest. Do not take risks for a photo.
Do not go too close to the edge. Do not stand on wet rocks. Keep your phone charged above fifty percent. Tell one friend where you are going. Carry a small torch. Sunset photos are nice. But coming back home safe is nicer.
Conclusion
You do not need a costly camera. You do not need to learn hard words. You just need to remember these things. Come early. Put something in the front. Keep the device still. Darken the sky a little on your screen. Try raw format. Do not always put sun in the middle. Keep shooting after sunset. Remove extra things. Edit a little but do not fake. Practice at home.
Now go outside. Find a spot. Sit down. Wait for the evening. Watch the sky do its magic. And take that one photo which makes you stop and look every time.
Read: Best Camera for Travel Photography Beginners
FAQs
1. What is the right time to go for sunset photos?
Go one hour before the sun goes down. The good colors start coming forty minutes early. If you go exactly at sunset time, you will miss the best light.
2. How can I stop my photos from shaking and becoming blurry?
Keep your phone on a wall or a rock. Use the timer button. Do not touch the phone when it clicks the photo. A small tripod also helps a lot.
3. How do I get the orange color back in my sky?
Tap on the sky on your phone screen. You will see a small sun icon. Pull that icon down. The screen will look darker. Now click the photo. The orange will come back.